Skipping Subfloor Prep and Concrete Leveling
The subfloor decides how your finished floor looks and how long it lasts. Rigid core LVP bridges small imperfections, but it cannot hide a slab that rolls more than 3/16 inch across a 10-foot span. When planks sit over a low spot, the locking joints flex with every step, and that repeated stress cracks the seams. High spots cause the opposite trouble: planks rock, edges lift, and you hear a hollow tap underfoot. Before any plank goes down, vacuum the slab, scrape off paint and adhesive ridges, and check flatness with a long straightedge. Fill the lows and grind the highs until the surface reads flat from one end to the other.
Many Sarasota slabs date back decades and have settled unevenly, which is why concrete leveling often comes first. A self-leveling compound flows across the slab and cures into a smooth base that gives the planks full contact. Moisture is the second slab concern: concrete wicks humidity from the ground, and trapped vapor under vinyl breeds mold and loosens adhesive. Tape a plastic sheet to the slab for 24 hours, then check for condensation to judge whether the surface is dry enough to cover. If you find moisture, treat it or add a vapor barrier rated for your product before you begin. For a base you can build on, see our concrete leveling in Sarasota service.
Acclimation and Underlayment Errors
Does Vinyl Plank Flooring Need to Acclimate?
Yes. Vinyl expands and contracts with temperature, and skipping acclimation ranks among the top reasons floors fail after a few weeks. Lay the boxes flat in the install room for 48 hours, kept between 60 and 80 degrees, the same range you live in day to day. Stack them so air reaches each box instead of sealing them in a hot garage or a closed truck. Install planks straight from a warm delivery and the room cools under the AC, the floor shrinks, and gaps open at the seams. Set them while they sit cold and the boards swell against each other and buckle. Two days of patience prevents both outcomes.
Do You Need Underlayment for Vinyl Plank Flooring?
It depends on the product. Many rigid core planks ship with a pad already attached, and adding a second underlayment voids the warranty and softens the floor, which strains the locking joints. Planks without an attached pad usually call for thin foam or cork for cushion and sound control, plus a moisture barrier over concrete. Read the manufacturer’s instructions before you buy anything extra; they spell out the right answer. Over a concrete slab, put the vapor barrier first; over plywood, focus on comfort and quiet. Matching the underlayment to both the plank and the subfloor keeps the warranty intact and the floor silent underfoot.
Layout Mistakes: Stagger Pattern and Plank Direction
How to Stagger Vinyl Plank Flooring
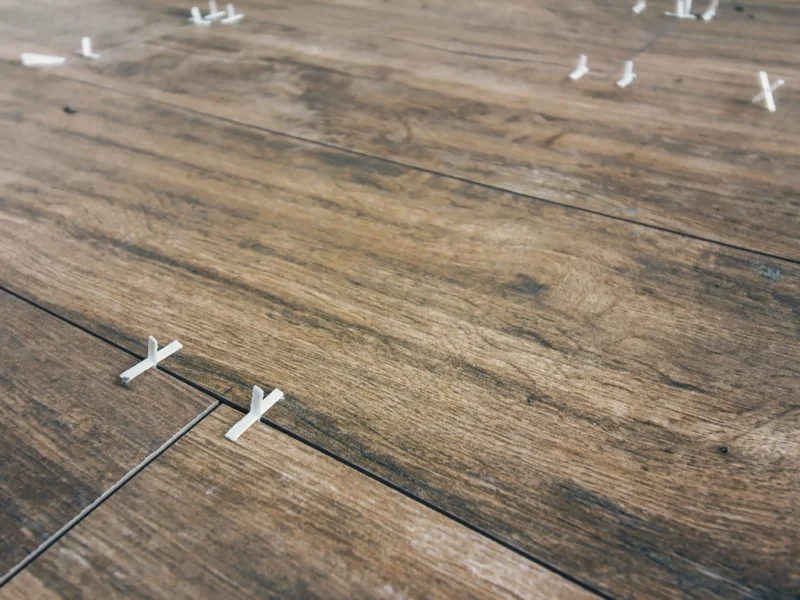
A weak stagger shows itself once you know the signs, and it undercuts the strength of the whole floor. Keep the end joints of neighboring rows at least 6 inches apart, and 8 to 12 inches looks more natural across a wide room. Avoid lining seams up in a repeating step, the “staircase” pattern, which pulls the eye and can separate over time. Plan your cuts so no end piece finishes shorter than 6 inches, since short tabs lose their grip and lift. Start each new row with the offcut from the last one when the length works, which trims waste and randomizes the joints. Pull planks from several boxes as you work so color and grain variations spread across the room instead of clustering.
Which Direction to Lay Vinyl Plank Flooring
Run the planks parallel to the longest wall in most rooms, which makes the space feel larger and cuts down on waste. Light gives the second cue: planks laid toward the main window, in line with the incoming light, hide their seams and read cleaner. In a long hallway, follow the length of the hall whatever the adjoining rooms do, since a crosswise hallway looks choppy. To carry one continuous floor through several connected rooms, choose a single direction and hold it throughout for a seamless result. Settle the direction before you open the first box, because switching halfway wastes material and breaks the pattern.
Common Mistakes When Laying Laminate Flooring
Laminate installs much like LVP, yet the two materials behave differently, and treating them as one invites trouble. Laminate has a fiberboard core that swells for good once it gets wet, so it belongs in dry rooms, never a Sarasota bathroom or laundry. Both floors float and need an expansion gap, though laminate moves more and asks for a slightly wider perimeter gap. The common mistakes when laying laminate flooring echo the vinyl list: no acclimation, a skipped gap, and a flimsy stagger. The table below sets the two side by side so you can match the method to the material.
| Factor | Luxury Vinyl Plank (LVP) | Laminate |
|---|---|---|
| Water resistance | Waterproof core, suits wet areas | Swells when soaked, dry rooms only |
| Acclimation time | 48 hours | 48 to 72 hours |
| Expansion gap | 1/4 inch typical | 1/4 to 3/8 inch |
| Best Sarasota use | Whole home, baths, kitchens | Bedrooms, closets, living rooms |
When to Hire a Pro vs. DIY
A small, square bedroom over flat plywood makes a reasonable weekend project for a patient homeowner. The job grows harder once the slab runs uneven, the layout turns to angles, or moisture enters the picture, and that is where a professional install earns its cost. Weigh hiring a pro when these conditions apply:
- Your concrete slab is uneven, cracked, or testing high for moisture
- The floor runs across several rooms, stairs, or tight angles
- You need clean cuts around cabinets, door jambs, and transitions
- The manufacturer warranty requires professional installation to hold
- You want the work finished in days, with a guarantee behind it
A trained installer reads the subfloor, sets the expansion gaps, and plans the stagger so the floor performs the way the warranty promises. Our crew handles the prep, the layout, and the finish details in a single pass. Learn more about our flooring installation in Sarasota.
How to Avoid LVP Installation Mistakes
Durable vinyl floors come down to preparation and patience: level the subfloor, control moisture, acclimate the planks, leave the expansion gap, and stagger the seams with intent. Match the underlayment to your product, run the planks along the long wall or toward the light, and respect the line between vinyl and laminate. Each step protects the next, and skipping one undoes the rest. When the slab or the layout pushes past comfortable DIY range, a professional install safeguards both the floor and its warranty. Let’s get started. Contact us today for a free consultation.
Contact us for a free in-home estimate. We'll help you find the perfect flooring solution for your home and budget.
GET A FREE QUOTE